This page refers to an older version of the product.View the current version of the online Help.
Group Policy Object (GPO) Import
Using Environment Manager Policy to deploy group policy settings provides many benefits over a native GPO. You can cut down your user login times by applying group policies only when you really need them and control how frequently such policies are applied. In addition to being faster, Environment Manager provides you with high levels of control over your policy options for Windows 10 devices - both on and off premise.
GPO Import
Environment Manager features a wizard that enables the import of GPO files and their conversion to Environment Manager ADMX actions. See GPO Actions for more information.
On completion of the import, parent nodes are created automatically and displayed in the navigation tree. Each node is named after its corresponding imported Group Policy Object name.
To run the GPO Import wizard you must have the Group Policy Management Console installed. This is an administrative tool for managing group policies across your company and it will enable Environment Manager to access your GPO location.
1.Select the Policy Configuration navigation button.
2.In the Tools & Wizards tab, click Group Policy Import to open the Group Policy Import wizard.
Throughout the wizard:
• To confirm and progress your import, click Next.
•Click Back to return to the previous page within the wizard.
•Click Cancel to abandon the import. Note that if you cancel after the import has started, the already imported objects are added to the navigation tree. It is recommended that you manually check both the Computer Startup trigger and User Logon and Pre-Desktop triggers for any imported objects and remove them accordingly.
3.In the introductory page follow the on-screen instructions to enter your domain name and policy path. 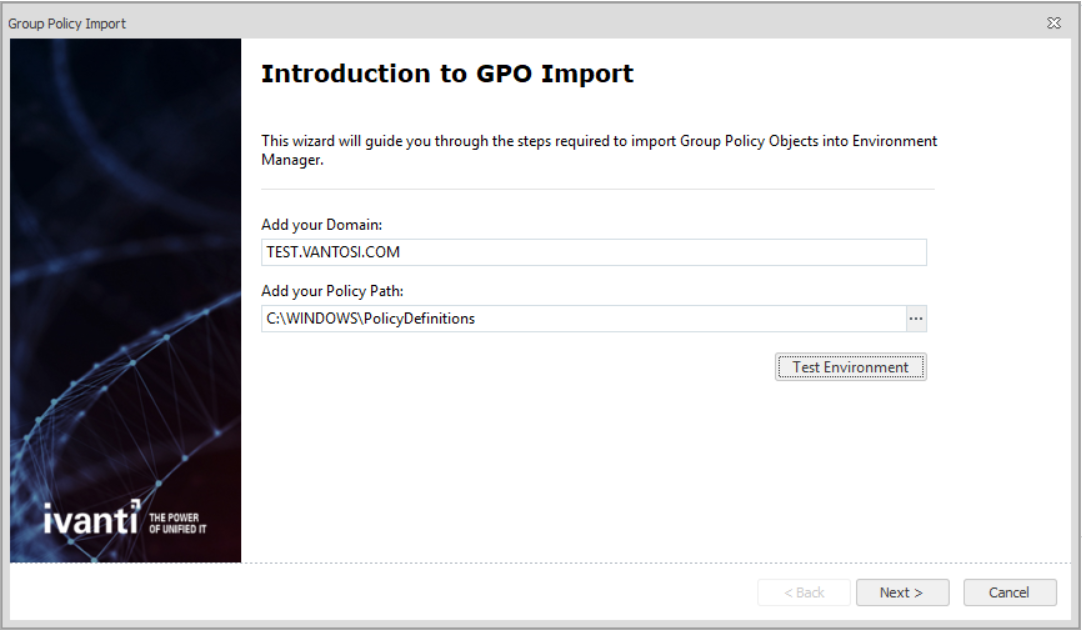
4.Click Test Environment. This action checks the domain can be accessed via the logged on user account, and that the GPO settings exist in the default policy path. If the test is successful a check symbol is displayed next to the locations specified.
Click Next to continue with the import.
5.In the second page select the items you wish to import. The screen lists all items in your GPO folder. To filter the items displayed, enter the initial character(s) of the name required.
Check the individual items required, or check Select All.
Click Next to continue.
6.Items selected for import are listed.
By default the Import as Individual ADMX actions option is selected. It will create an ADMX action for each individual item imported. Clear this checkbox to create one ADMX action for the imported set.
To confirm your selection click Import.
7.The completion page of the wizard provides a summary of the import.
Click Open Full Report to view the report. Unless you have any file type associations configured, the report will open in Notepad.
8.Click Finish to close the wizard.
Parent nodes are created automatically in the navigation tree, displayed under the computer or user triggers to which they apply.